I liked what I did, but I want to start again with my ship, as it is the main architecture in my diorama, so I want to strive to get the best model I can.
I made a good attempt and its a good design to go off but I want to do more.
First attemptSecond attempt.
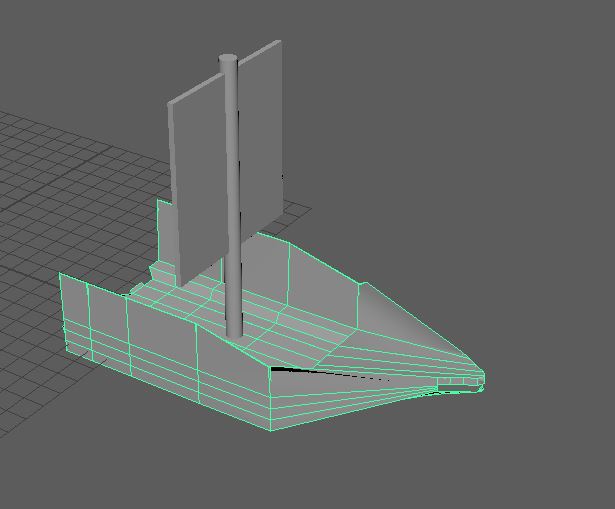
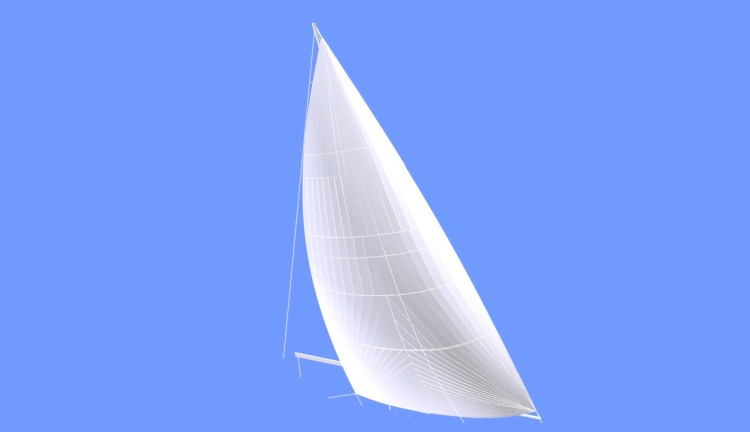
My third attempt was a lot better and I think this will be the one I will continue to model however I did decide to keep my sail and mast.
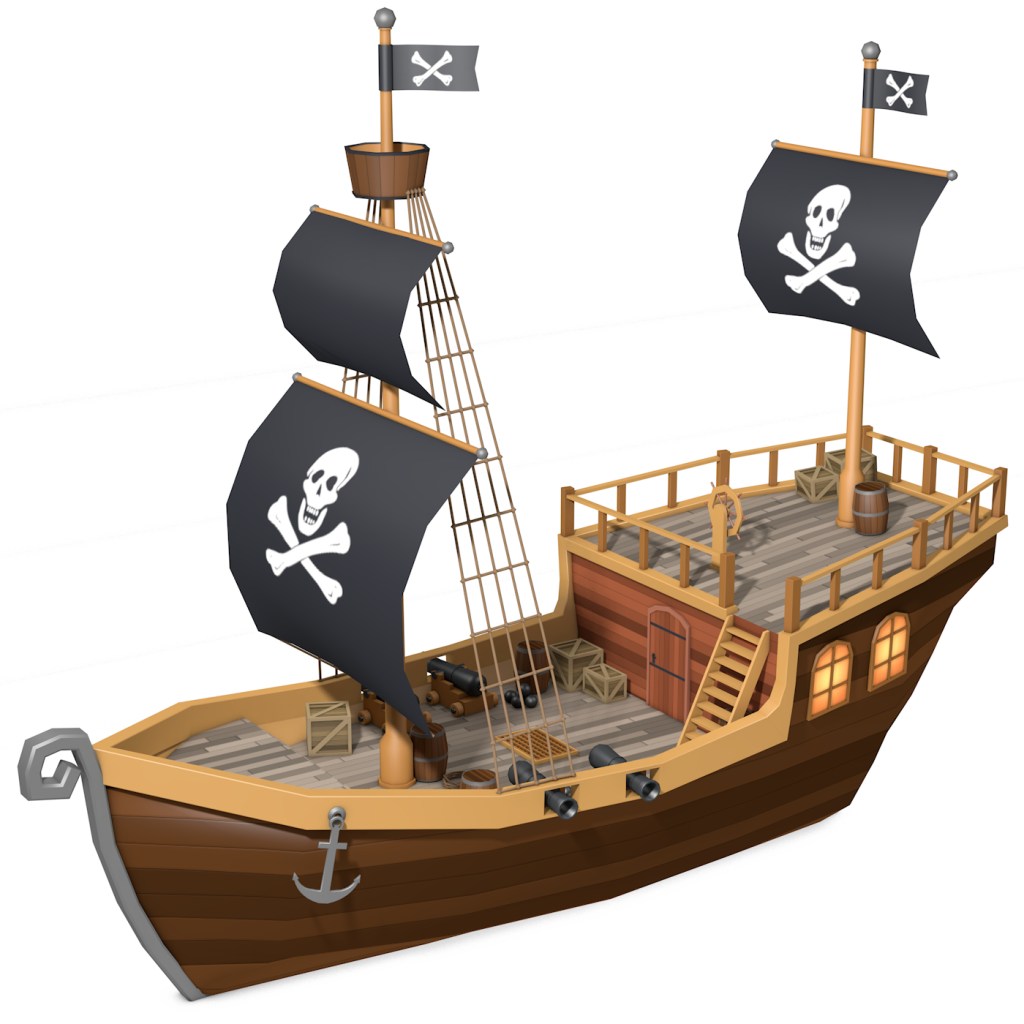
the image I used for reference was
I used aspects of this image like the front end.
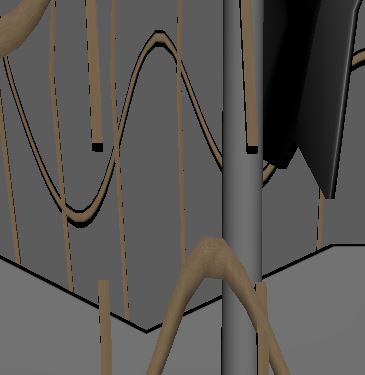
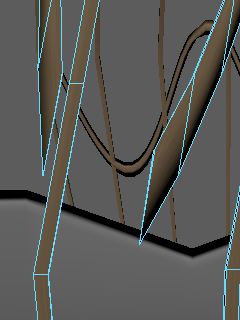
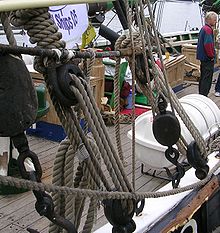
The lecturer helped me to get started with the ropes for my ship, he showed me how to draw curves and then extrude them to get the ropes in the middle and then use the lattice tool to get more flex in to the ropes and then I played around with it more after the lesson.
I kept some of my sail and mast from my second attempt but then I modelled it further.
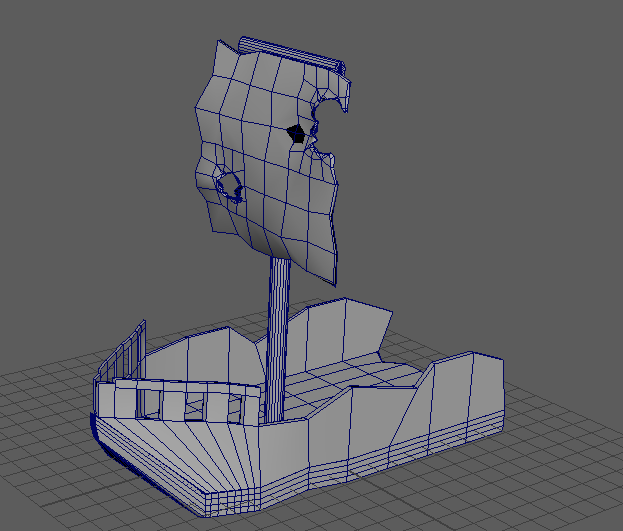
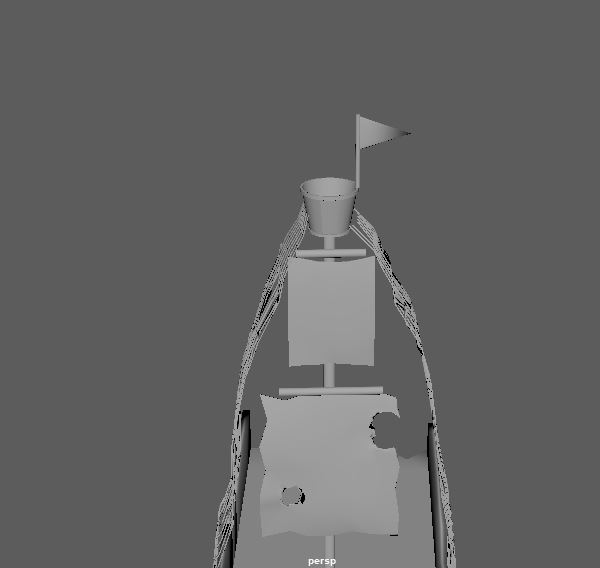
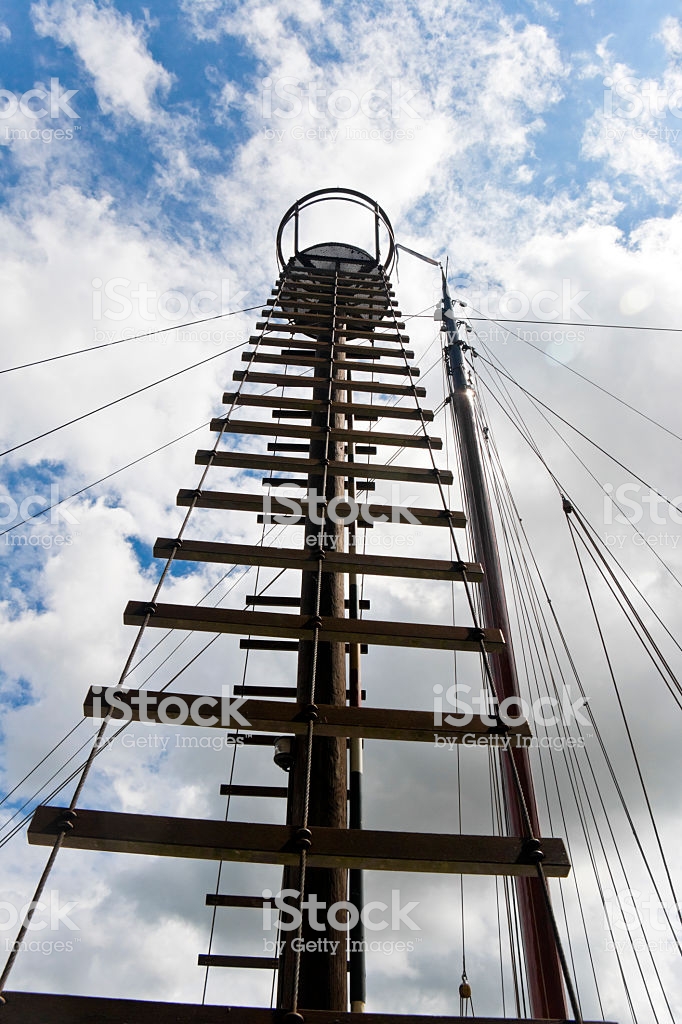
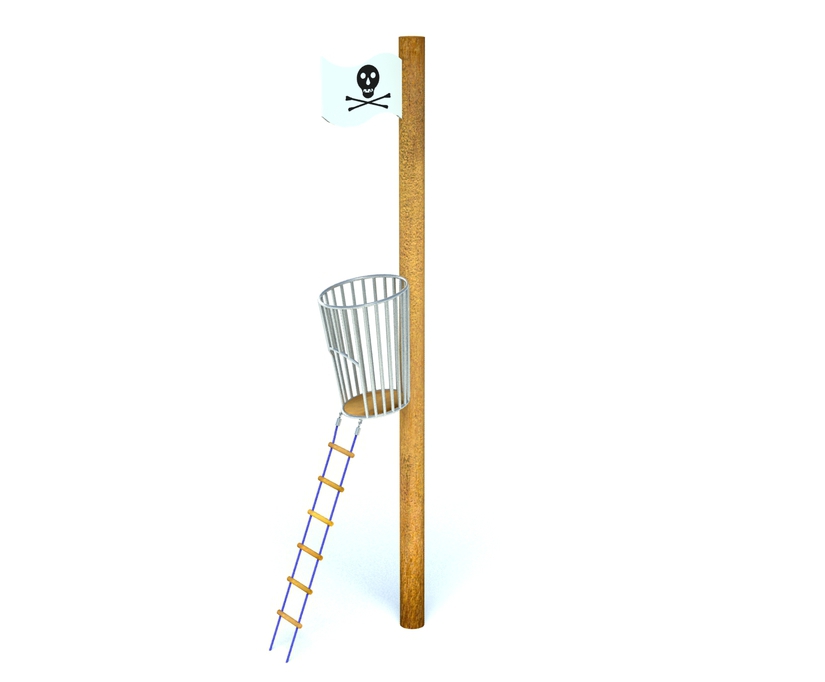
I added a look out and a flag at the top as well as another sail and the ropes on the sides and its really starting to come along. and actually look more and more like a pirate ship.
I wanted a lookout as most pirate ships I have looked at have one and I want it to keep to be a very cartoon pirate ship/wreck scene.
I also this time added little windows for the cannons to go in.
But I also left one of the cannons out of the holes as the captain has took one on the island and put it next to his shelter.
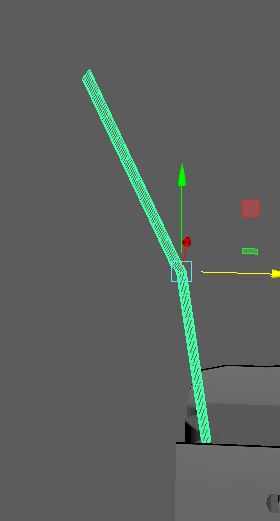
The second mast I am going to model on my ship, this one is going to be damaged and like its slanted from the bottom or broken in half in the middle and bending over.
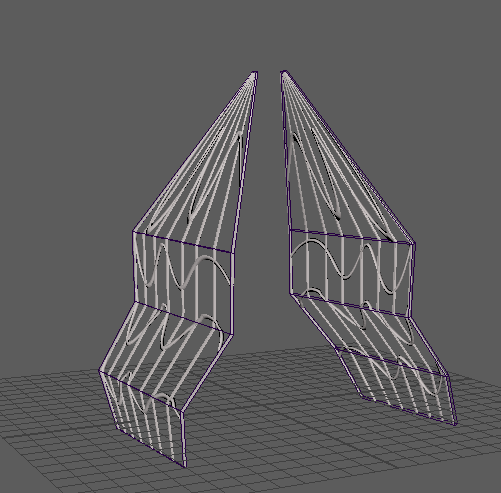
For the ropes on the first mast I want them to have holes and rips in them.
Then for the UV unwrap and texture, I think it is gonna be a big job to do but I can imagine it in my head of what I want it to look like so since I am way ahead of schedule from my grant chart, I am going to experiment with different textures, as the way I want it to look is very specific that it requires gimp for hand painting or substance painter.
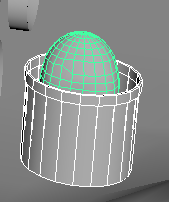
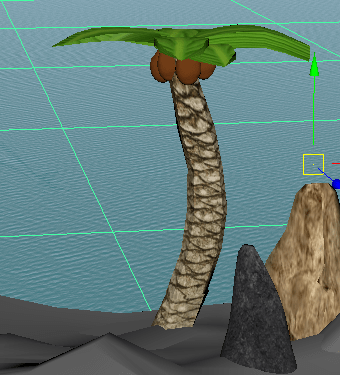
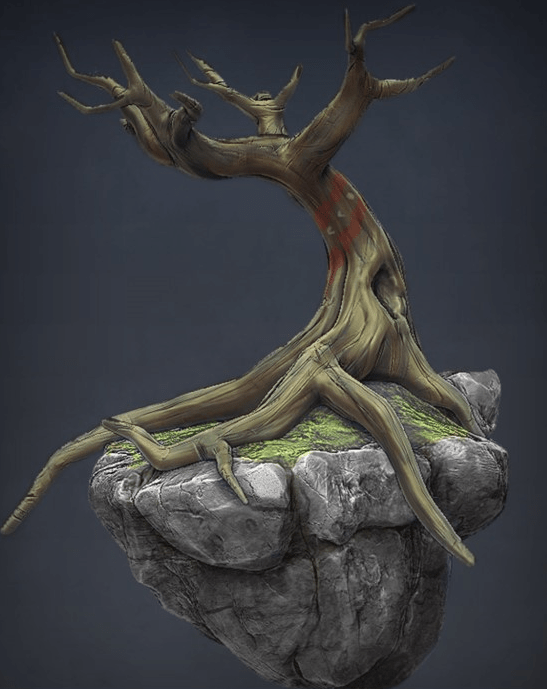
The next thing I decided to add to my diorama to keep in touch with the story I have created was a palm tree, as with the story I have created he is planning on using coconuts to use in the cannon, as he has ran out of cannon balls, so I needed this to fit in the story.
I also added a bucket with some coconuts already in it, so he can use them as weapons.
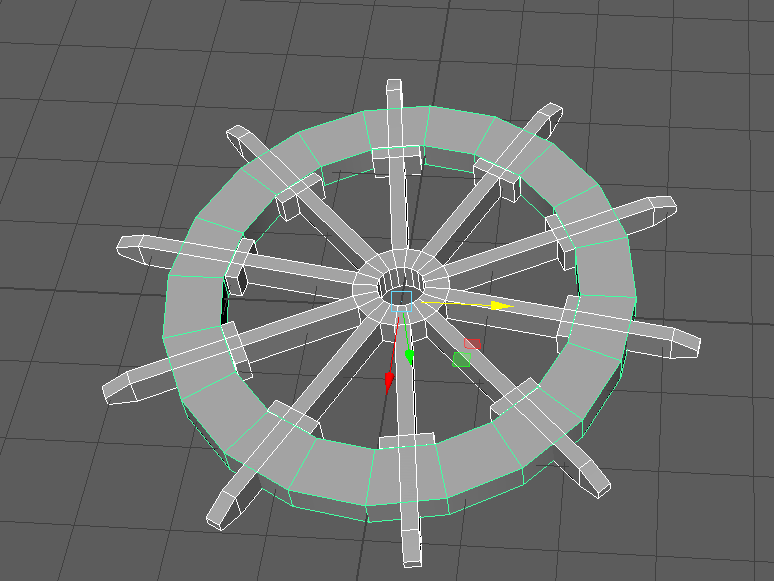
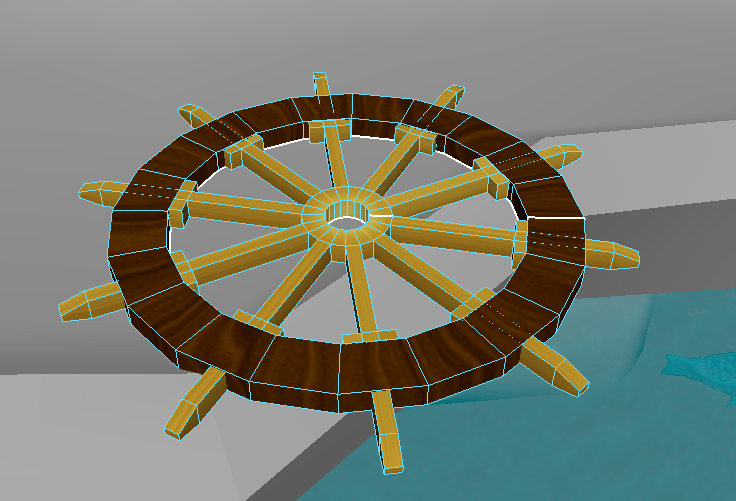
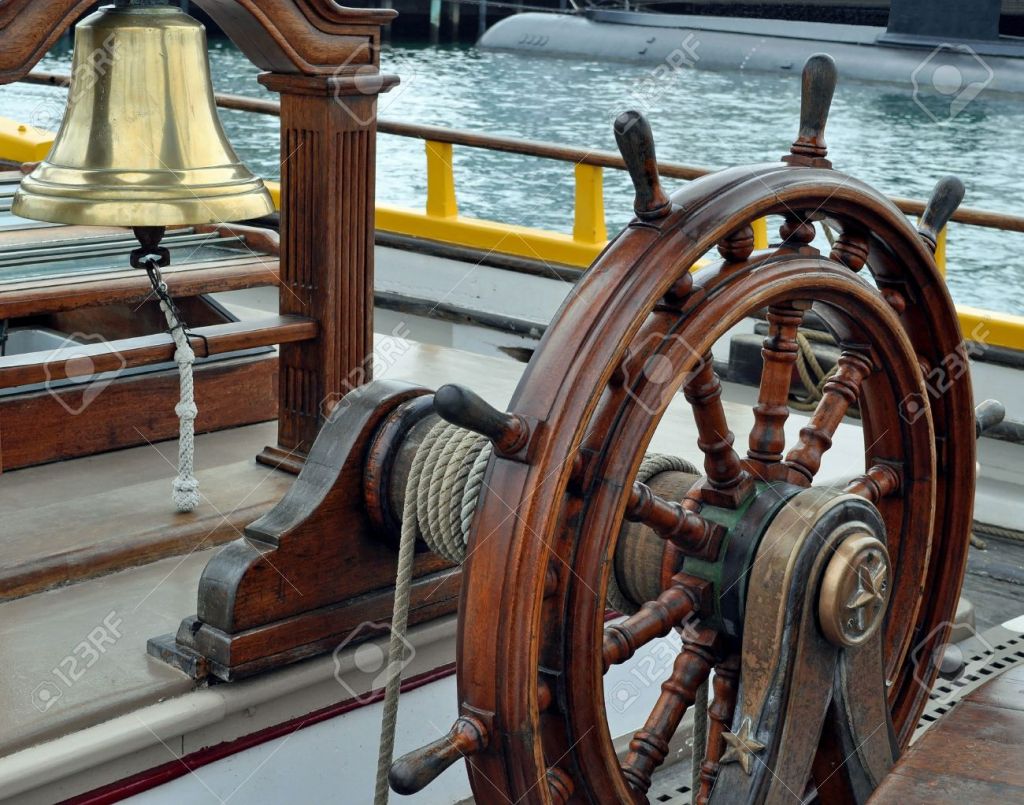
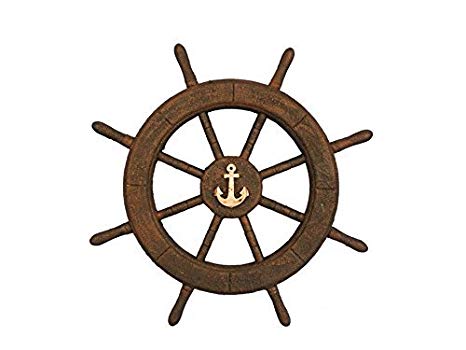
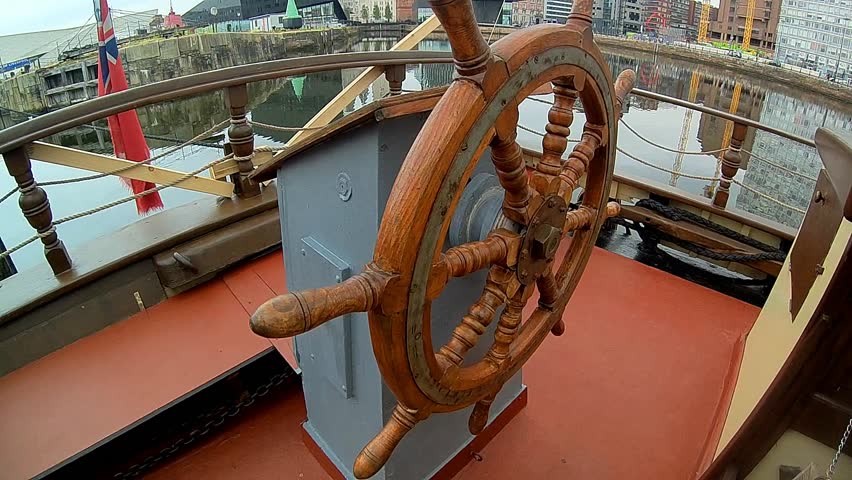
I then decided to model the steering wheel from the ship but this wasn’t going to be attached to the ship
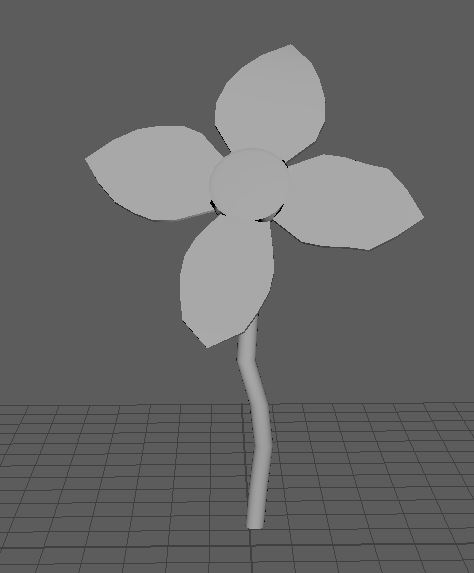
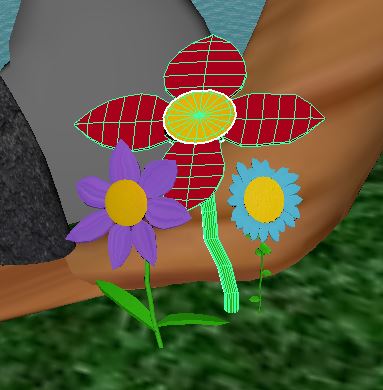
For my small organic component, I modelled a flower as my plan is to have them around the bottom of my tree. I liked what I modelled but after I decided that I was going to model different flowers to put around my tree to have some diversity.
I wanted the flowers to be different from each other so I made them have different amounts of leafs and petals.
I was worried about UV unwrap but once we got shown in Fridays lecture, I realised that it didn’t seen that hard.
I also started this at the end of week 5, as I wanted it to be explained a little bit more and then on Friday we got shown a little more and my friend helped me understand how to UV unwrap and then add texture
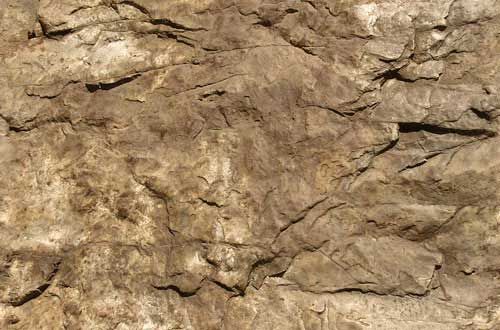
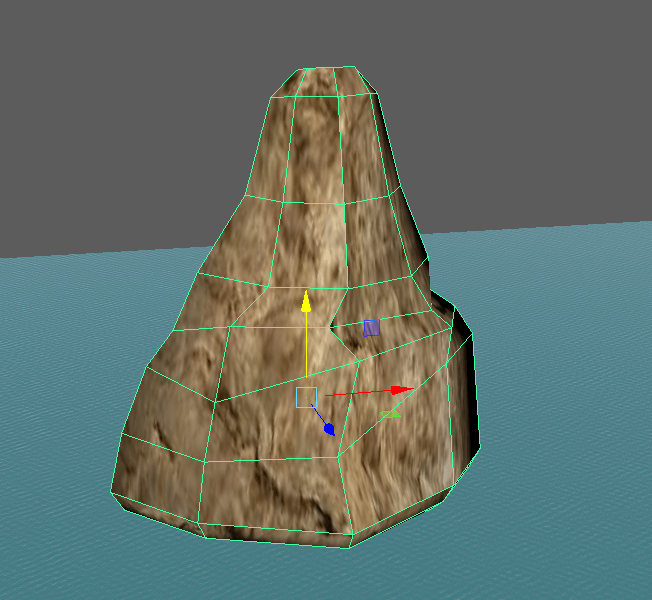
Firstly I started with something simple to UV unwrap. I UV unwrapped and textured one of my rocks
The texture I used
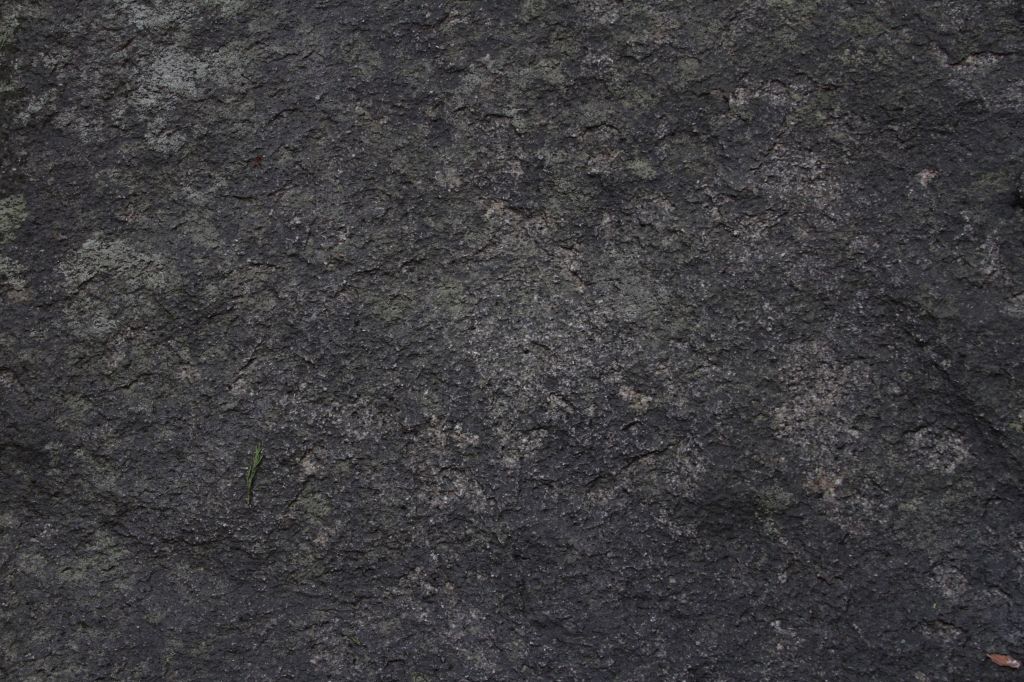
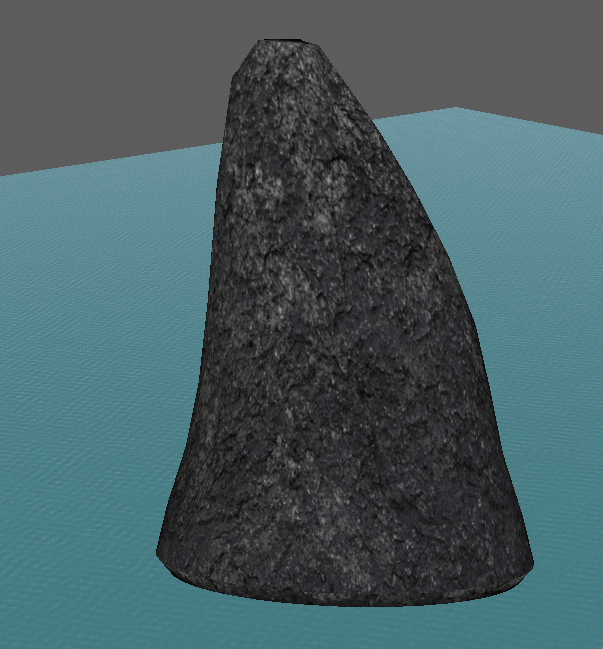
Then I done the same with another rock, and made this rock darker.
The texture I used
I UV unwrapped these two first as I wanted to texture the smaller models in my diorama as then I could get bit of an understanding of UV unwrap and texture before I go onto the more difficult models.
I then stepped it up a bit with my palm tree texture.
I was very happy with the way my palm tree came out as it was quite a hard one because of the different textures I needed like I needed a different texture for the coconuts, the leafs and trunk.
With the leafs I had to make sure the centre of the leaf from the texture was in the centre of my model leaf and also I had to check whether the image wasn’t stretched on the model
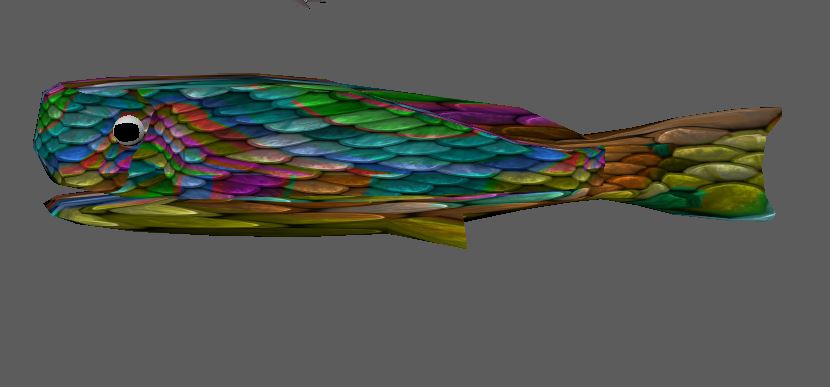
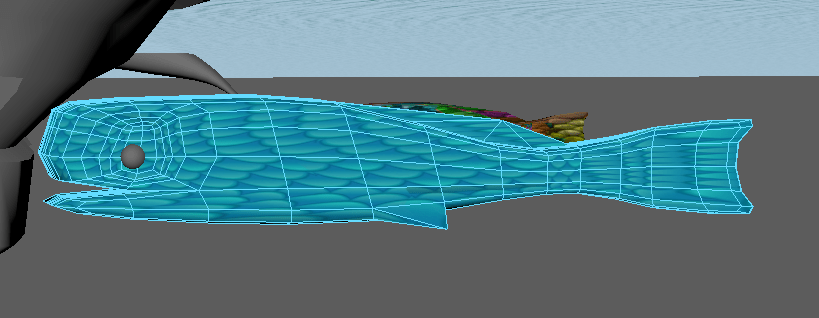
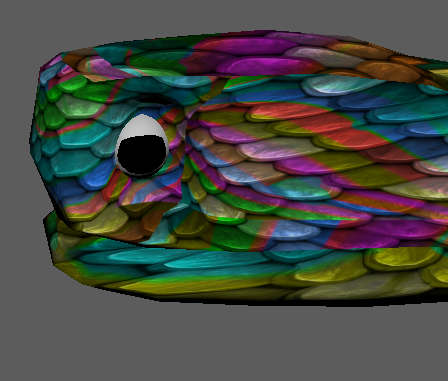
I then textured the fish, this was harder than I thought it would be, as I had to make sure the scales were not stretched so this involved a lot of playing around.
I wanted quite colourful fish to give it a cartoon feel for my diorama.
I then went a step further and remodelled the eye of the fishes, and then textured it. I did this by cutting the UV shell then removed it and textured the pupils separate from the whites.
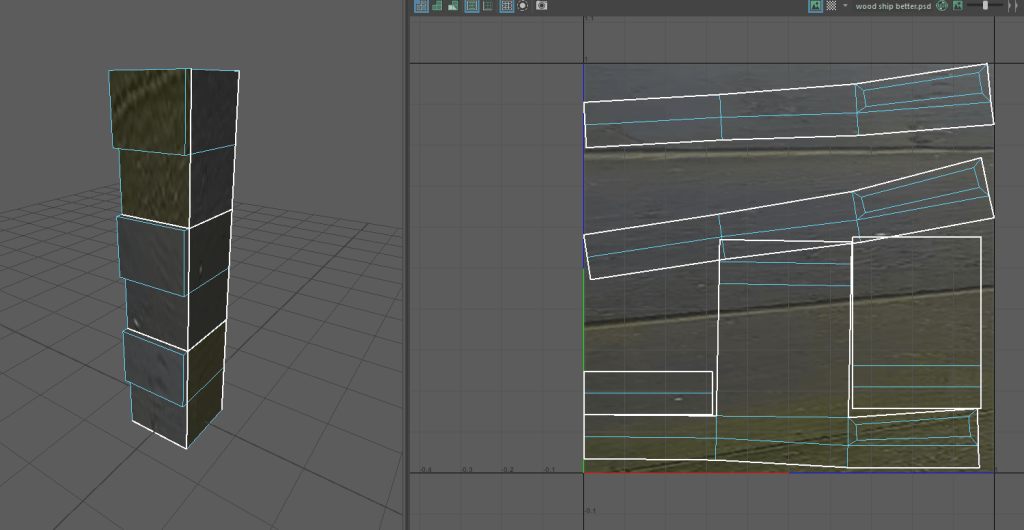
I also tried using this image that I took outside and it was some wood that was a bit rusty and I thought it would be good for the wood in the ship.
But I struggled to change it to a texture in Photoshop and when I did, it didn’t look good anyway.
So I then took a different photo of it more straight on as this picture isn’t great to get the texture.
however in the end I still wasn’t quite happy with it, so I got a different texture from online rather than taking a photo and I put that on instead.
This time it looked a lot better and more like a wood texture so I used it for my shelter on my island.
I wanted the wheel of the ship to look like it had gold in the middle. In Reality, this wouldn’t be possible with the weight of the gold. However with the diorama being a fictional story, I can get away with it.
Or it could just be painted yellow as I want my ship to have accents of red and yellow in them, as I want that to be the colours in their sail.
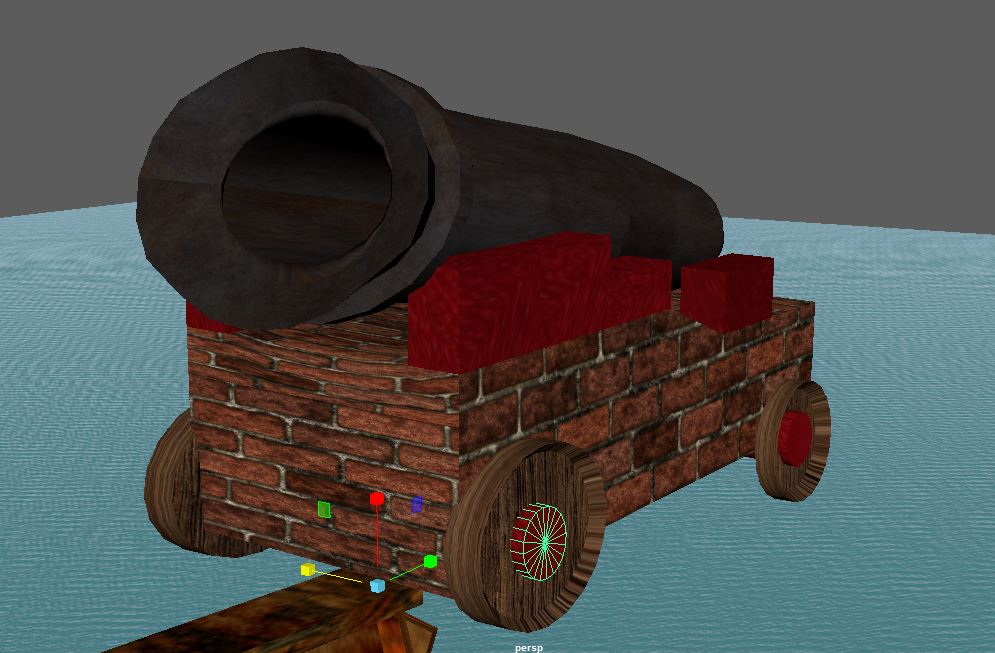
I then went on to texture my cannon, I used a brick texture for the stand of the cannon and I have accents in the wheels and on top of the stand. I also done this because the image of the bricks were stretching on top of the stand, so I decided to make them bits red and it actually looks good.
With my other tree, I wanted a cartoon tree affect.
with the body of my cannon, I wanted a rusty black metal texture and this was quite hard to find.
And these are the ones that I liked so I decided to try all of them on the model And then use the one that I like the most.
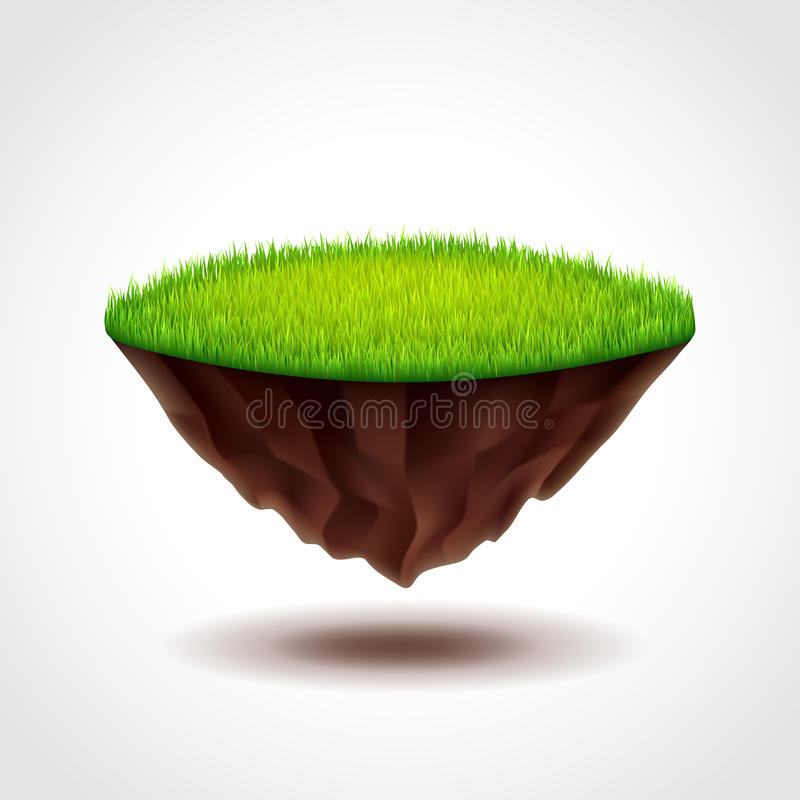
With my island, I wanted a rock effect underneath and then a grass effect on top. And using this for inspiration of my overall look of my island.
It took a while to find a grass texture that worked on the island as most of them for stretching the texture and it was the same for the bottom of the island.
eventually when I found the textures that looked the best, I was quite happy and proud as then I realised I’m actually a little ahead of schedule from my grant chart.
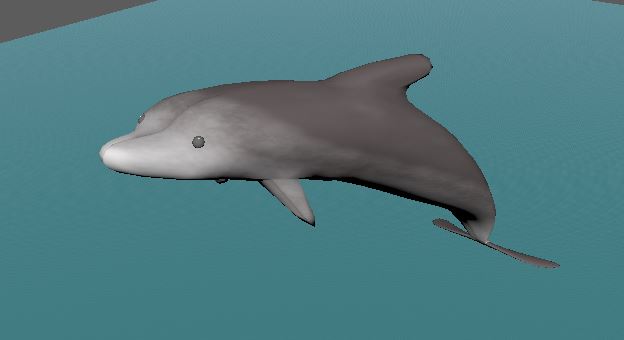
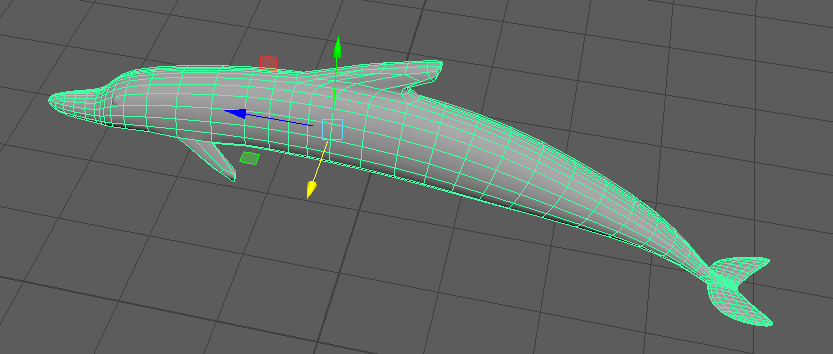
Next thing I textured was my dolphin and I done this by after I had unwrapped my UV’s, I took a UV snapshot and then put the snapshot in gimp so I could do my own texture as I wanted the dolphin grey but a white and faded in effect on my dolphin.
I really enjoyed doing my own texture as I couldn’t find a texture I liked online for my dolphin as I wanted white and fade in to grey a effect so I painted it myself and I really liked how it turned.
the UV unwrap and texture for the flowers was fairly straight forward, I kept to basic colours for the flowers as I wanted them to have a cartoon look. and I made them all have different colour petals so they would stand out from each other.
I am way ahead of schedule for my diorama, as now the only thing I have left UV unwrap and texture is my pirate ship.
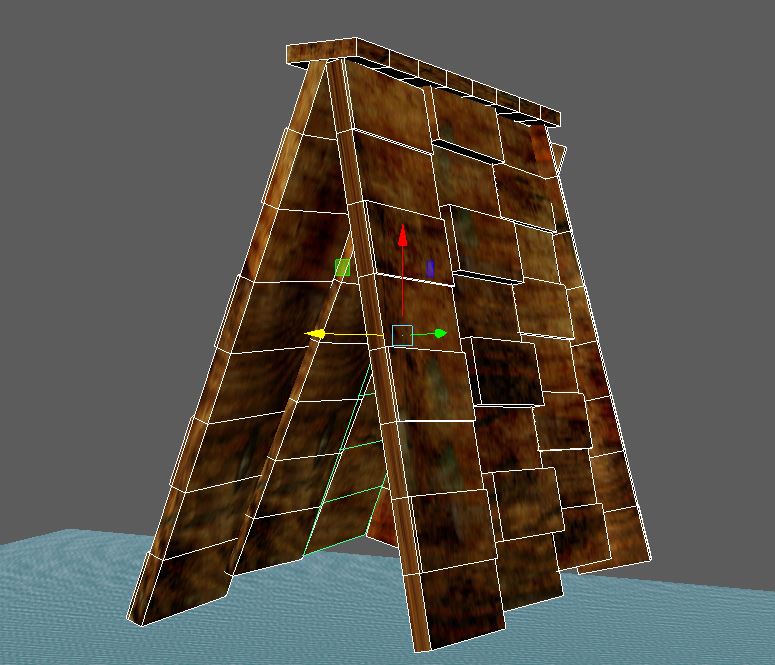
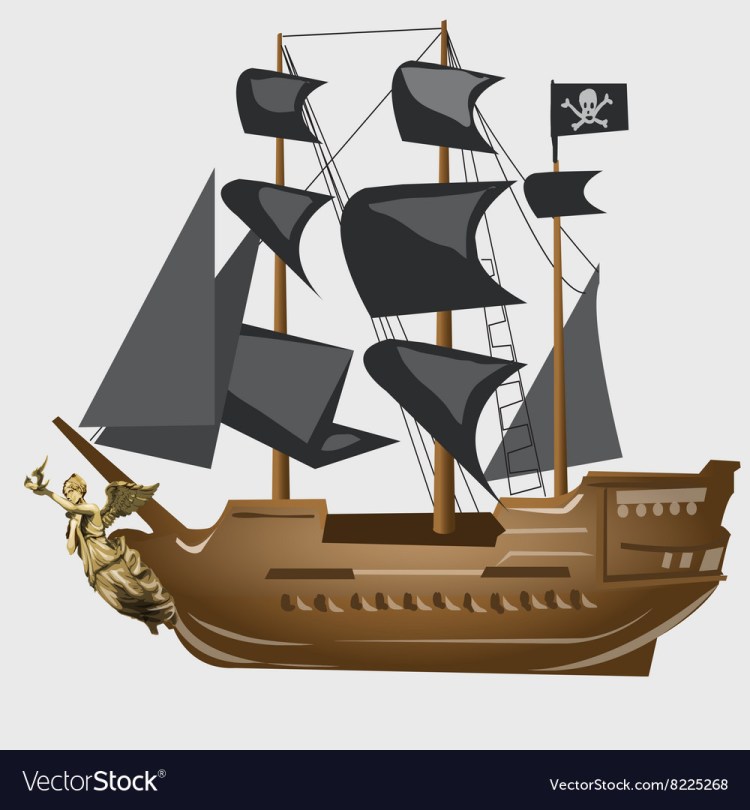
As you can see with the Ship that I wanted to make the ship like a wreckage, at first I started with the ship not wrecked at first, so I could get the design down then I started making it look destroyed, Which I have already started a little bit in this image, with the sail.
To get holes in the sail, I used the Booleans difference tool to get the holes in the flag. I just put a cylinder shape through the sail then used the tool. I also made the sail look wavy to make it look more realistic. and also at the end of the ship, I added cracked edges to make it look torn in half.
I modelled a fish to go under my island and then I duplicated them and put them around in different sizes and then I took it further and modelled a dolphin.
As I modelled a fish, and I went for a quite cartoon effect, as that is the overall look I want for my diorama.
In my diorama I have my dolphin model a little bit out of the water.
When modelling a dolphin, I used a cylinder and then extruded the face and the fins and then modelled the them to the shape I want then I used to the smooth tool to get a more rounded and curved shape.
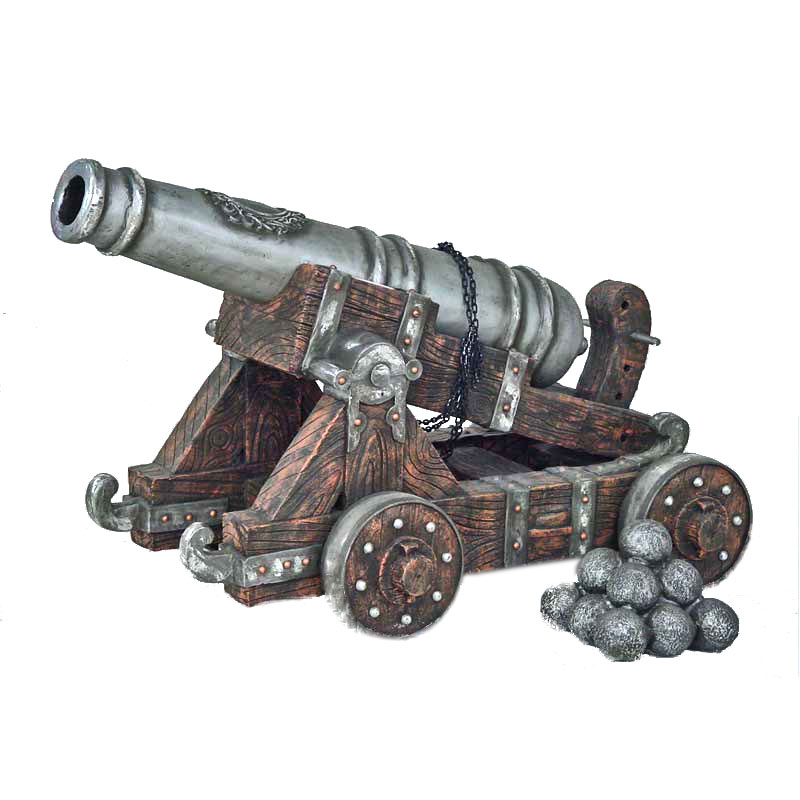
Even though I have modelled a cannon before, I did attempt it again and this time I made it more like one that would be a in a pirate ship. This time I gave the stand wheels, as more of the ones in a pirate ship do have wheels on them.
As my first cannon was good but at the time, it was more of just modelling a cannon and it wasn’t a specific type of cannon.
And I also made a little shed that the captain took parts of the wood from the ship to make some shelter. And I modelled this messy on purpose to give it that feel that it has just been put together quickly.
I also gave this some wood looking affect by extruding some of the faces to get the overall look.
Well at the start I learnt that I was definitely afraid as I haven’t used this software or anything like it before.
My research about my diorama, has helped a lot as I now understand what elements need to be in a pirate ship and where they are.
I have realised that I struggle to build characters with complex shapes. This affected my diorama as I can’t add a character in it and I don’t have enough time to improve on modelling a character.
My skills I have gained from this are, how to look at a basic shape and then get it to the shape I actually want. which I learnt by just playing around in the software, also skill I have learnt it how to make a story around the diorama, as I am getting my diorama more together, the story that i made for it, is actually helping my my diorama overall as I’m looking more in depth at what to add and how this fits in where.
The next thing I am hoping to do is finished modelling everything that i need in my diorama and then UV unwrap and texture then do a little bit of a tidy up and refine details.
I plan to do this by having 3 objects to add each week, and then once I have finished with that, I can UV unwrap and texture, and it should be fairly straight forward as I am half way through my diorama.
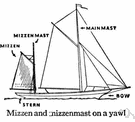
I researched this time. what different the names of things that belong on or in a pirate ship and then looked at images of these.
Sail – They capture the wind to push the ship forward.
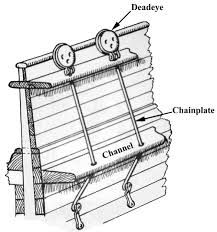
Shrouds – They are the ropes going up to the top of the ship.
Deadeyes – To wrap the shrouds around and keep them in place
Chain plate – A chain plate is a metal plate used to fasten a shroud or stay to the hull of a ship
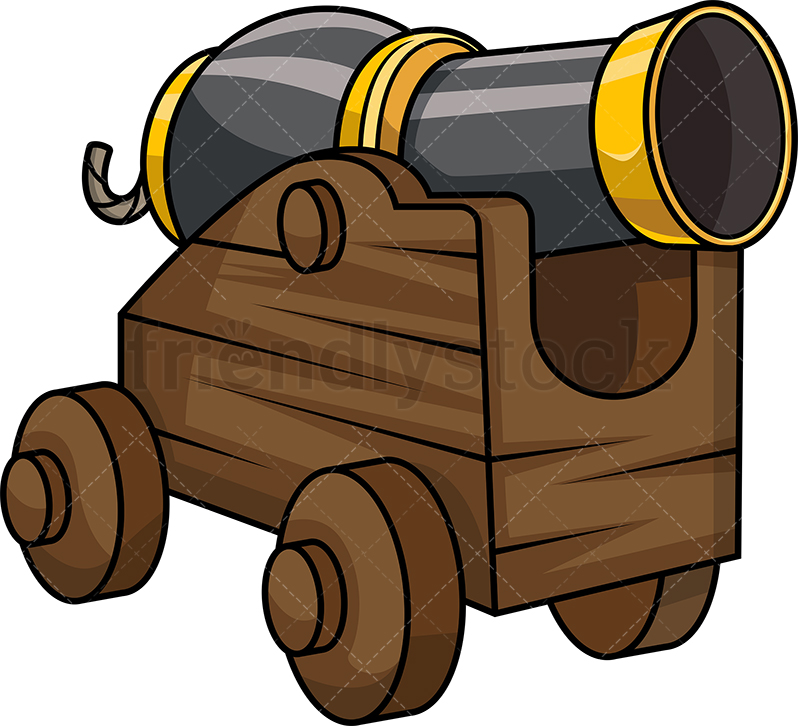
Cannon – To shoot enemies from afar.
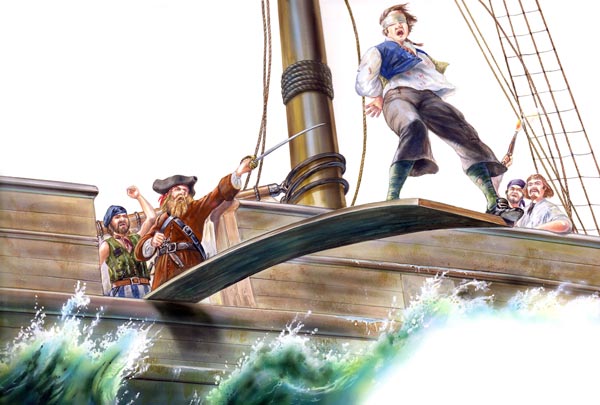
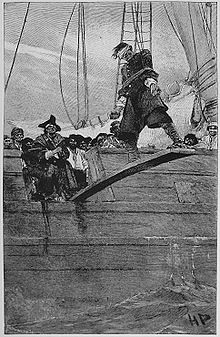
Plank – This is over the edge of the ship and is used to punish his enemies to make them get off the ship
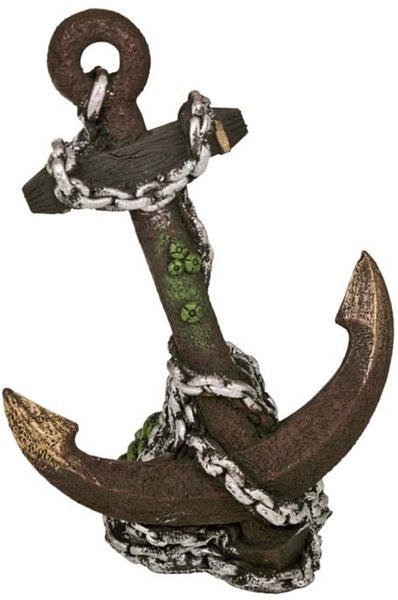
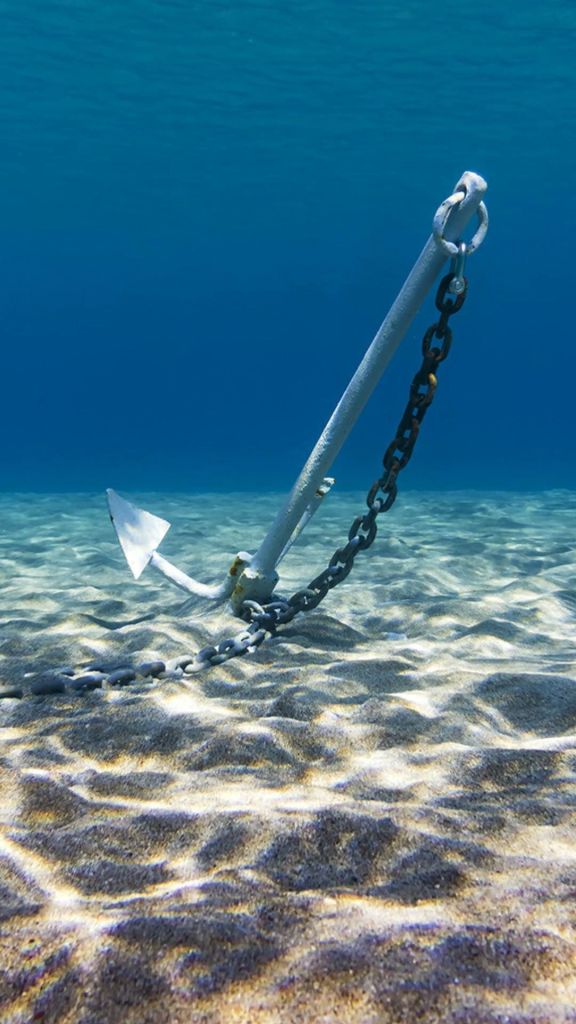
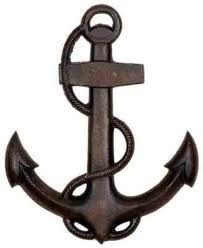
Anchor – To keep the boat from moving when the captain and his crew need to be stationary.
Ladder for lookout – Also called mast’s ladder, this was used to see around and as well as enemies ship in the far distance and then warn the captain
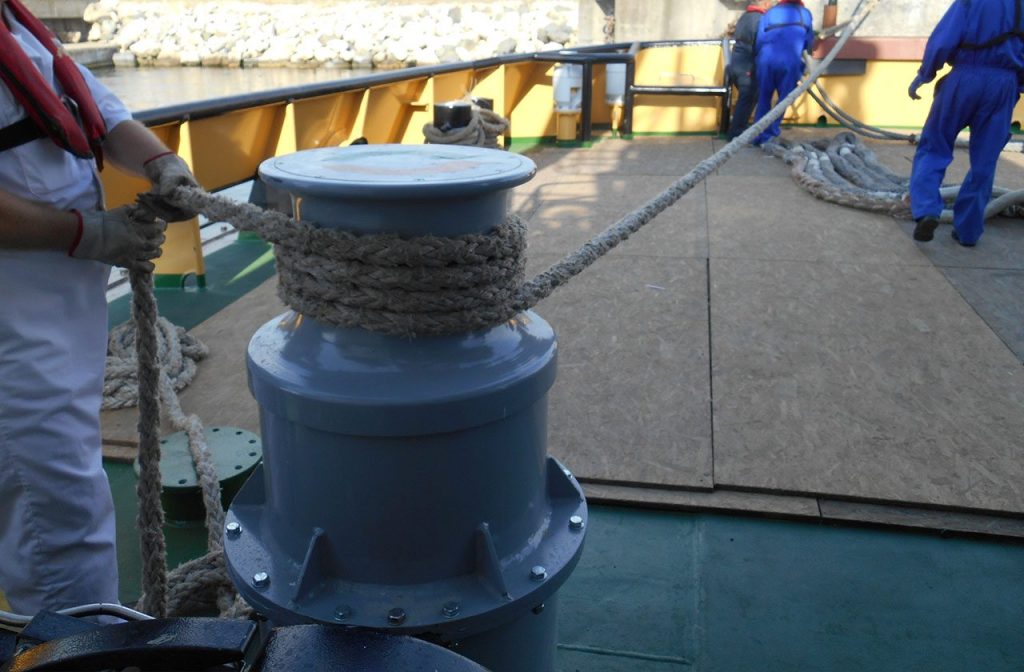
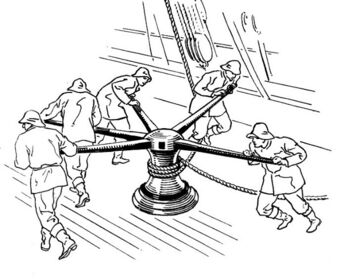
Capstan – a broad revolving cylinder with a vertical axis used for winding a rope or cable, powered by a motor or pushed round by levers.
Masts – Foremast – Mainmast – Mizzenmast
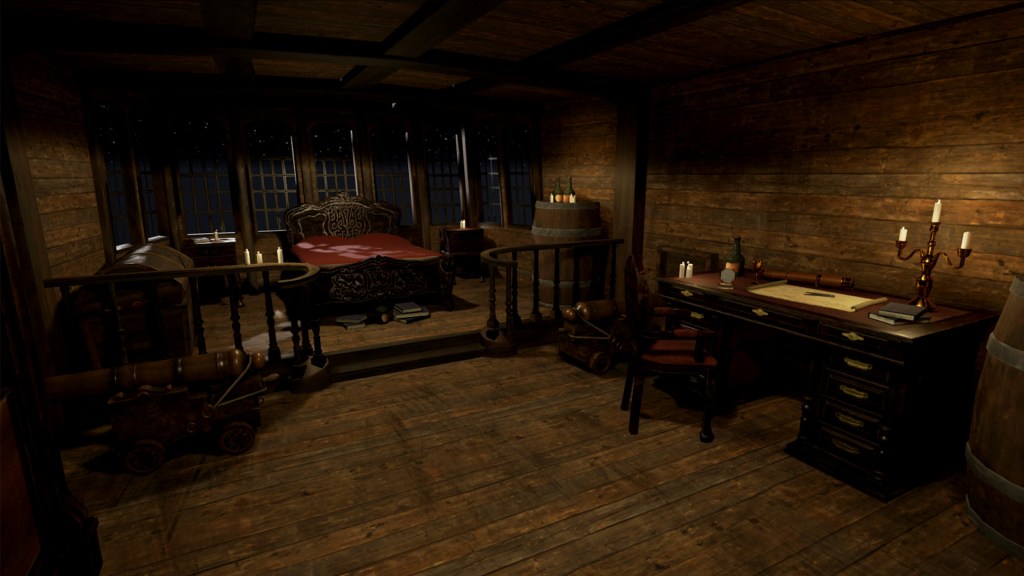
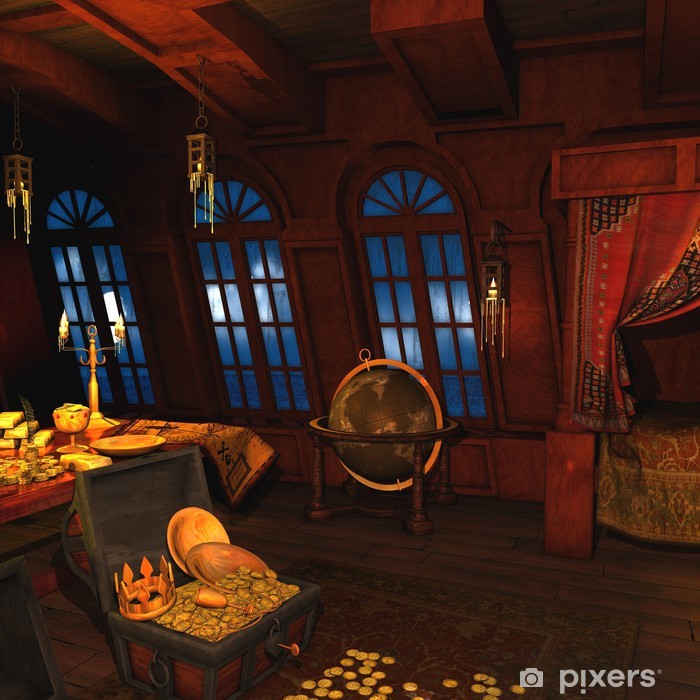
Captain’s cabin – This is the captain’s room where he sleeps.
Wheel – How they steer the ship
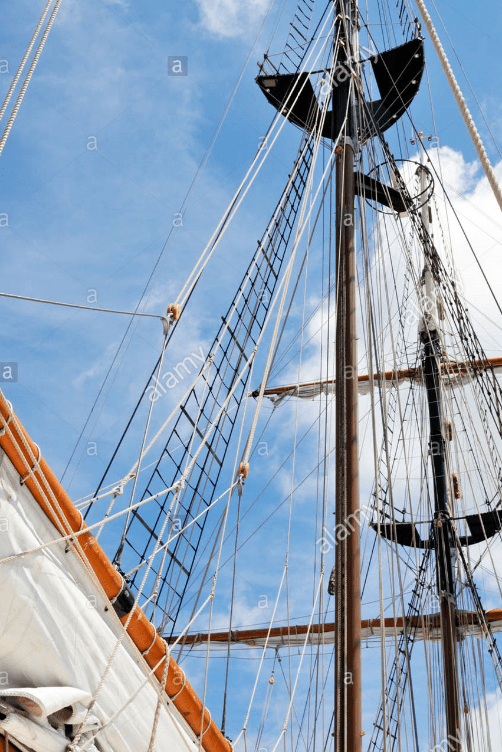
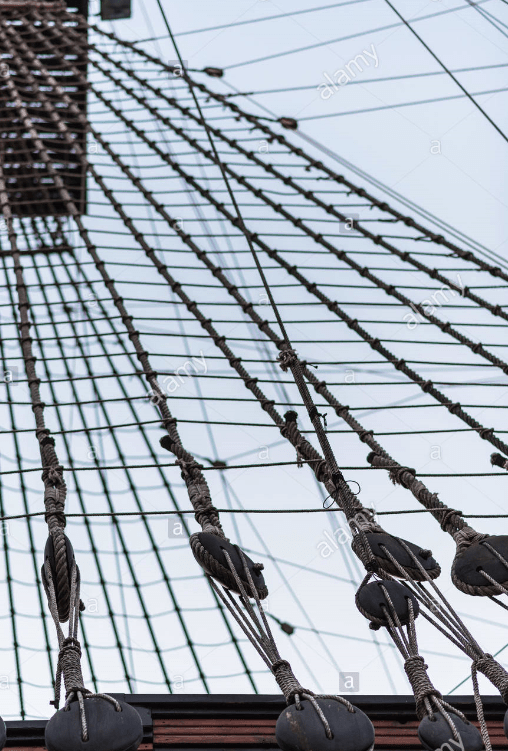
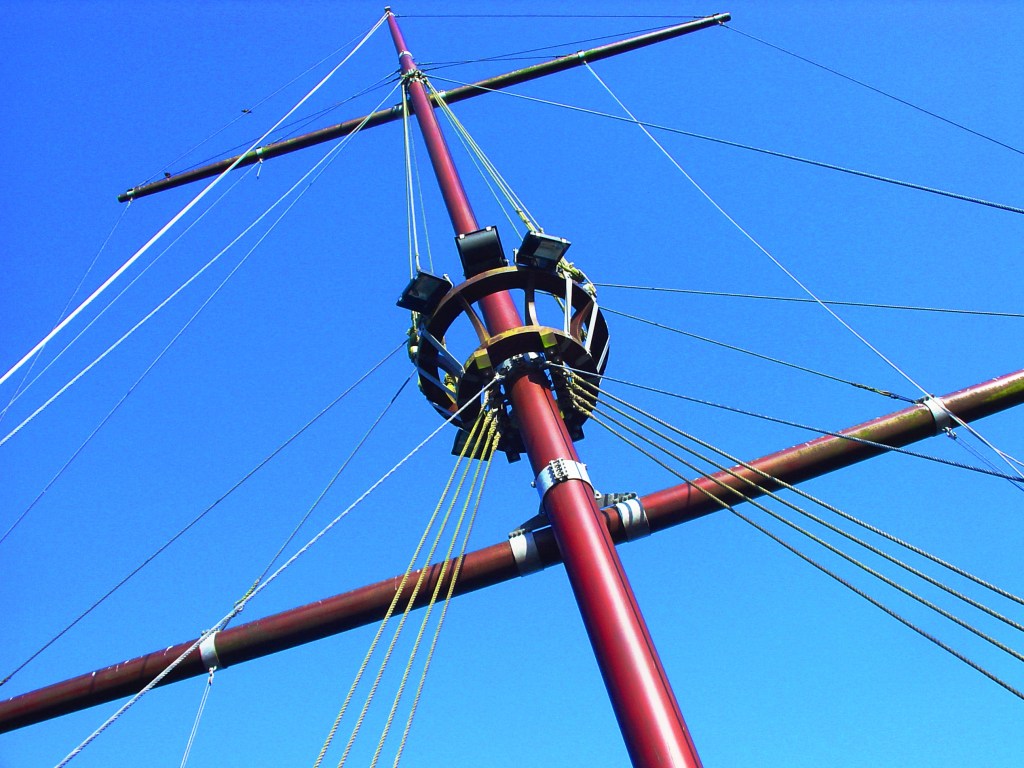
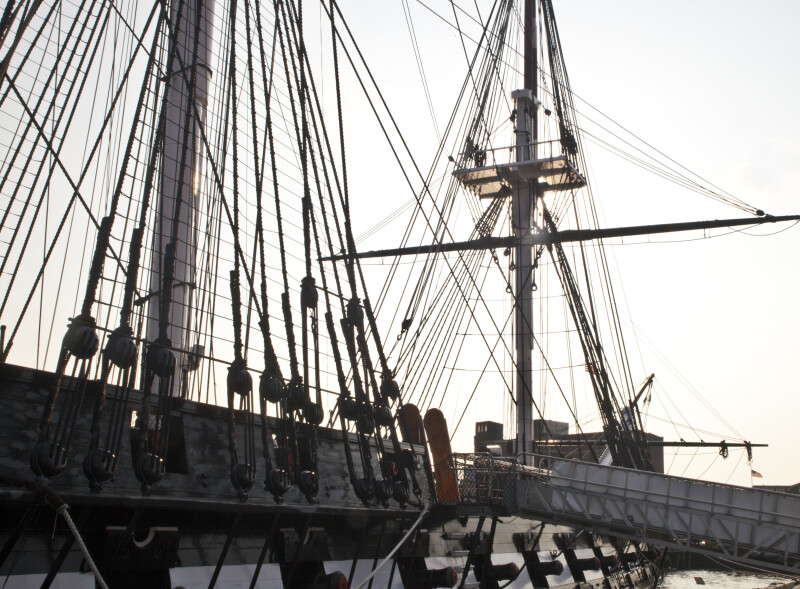
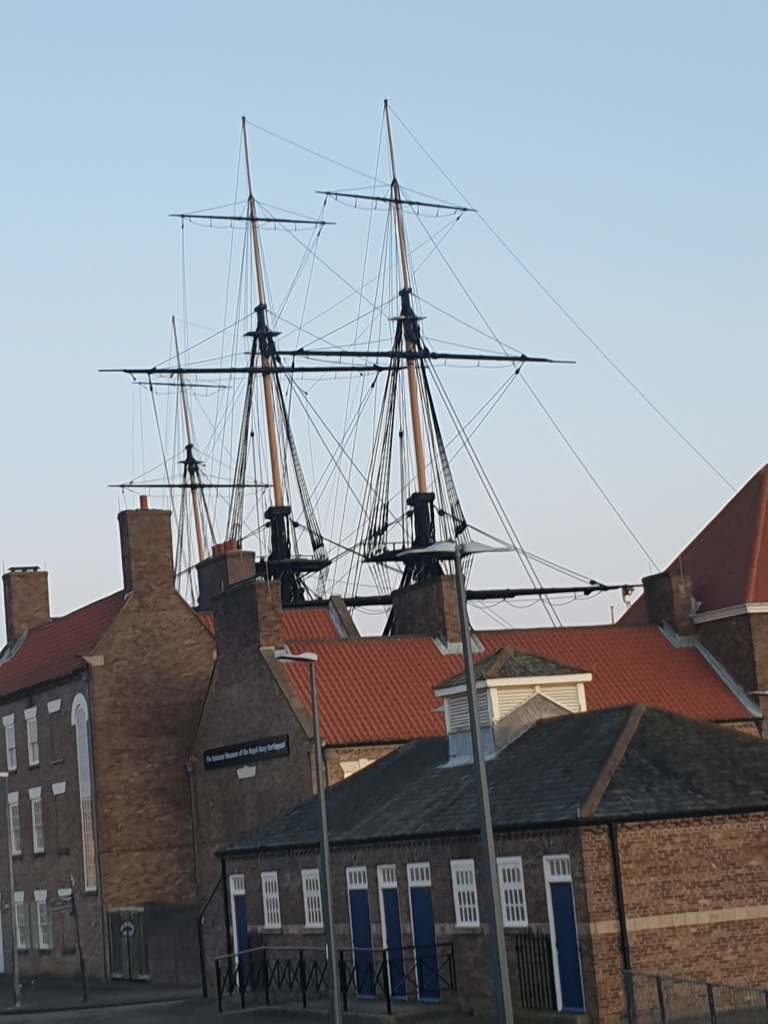
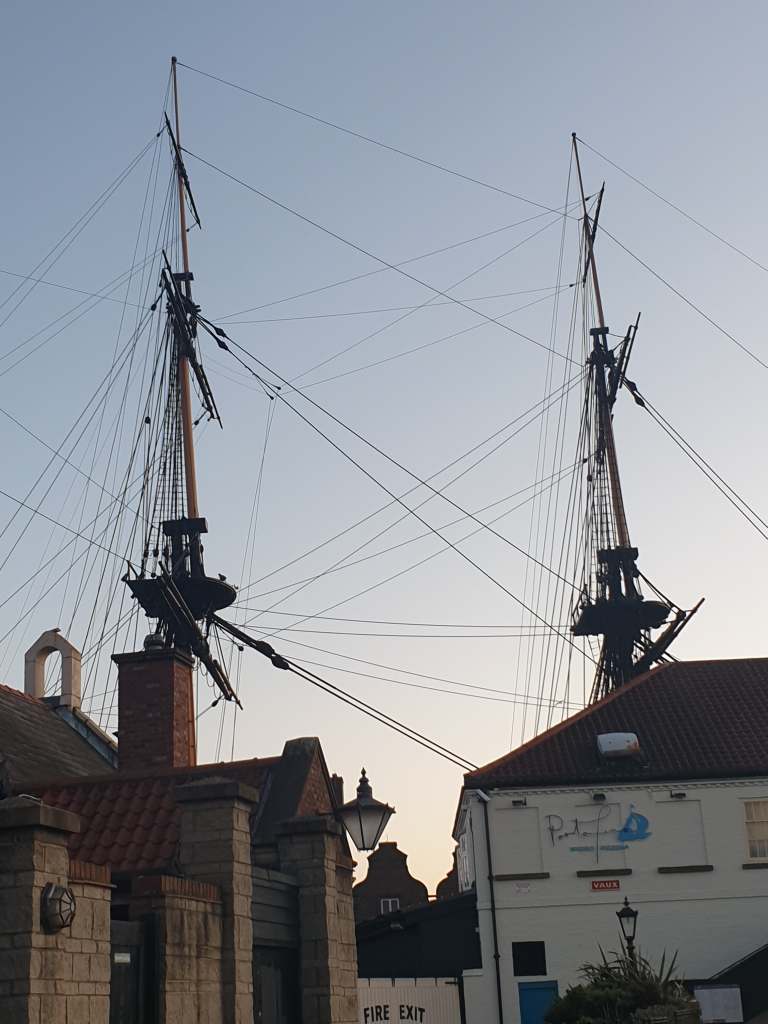
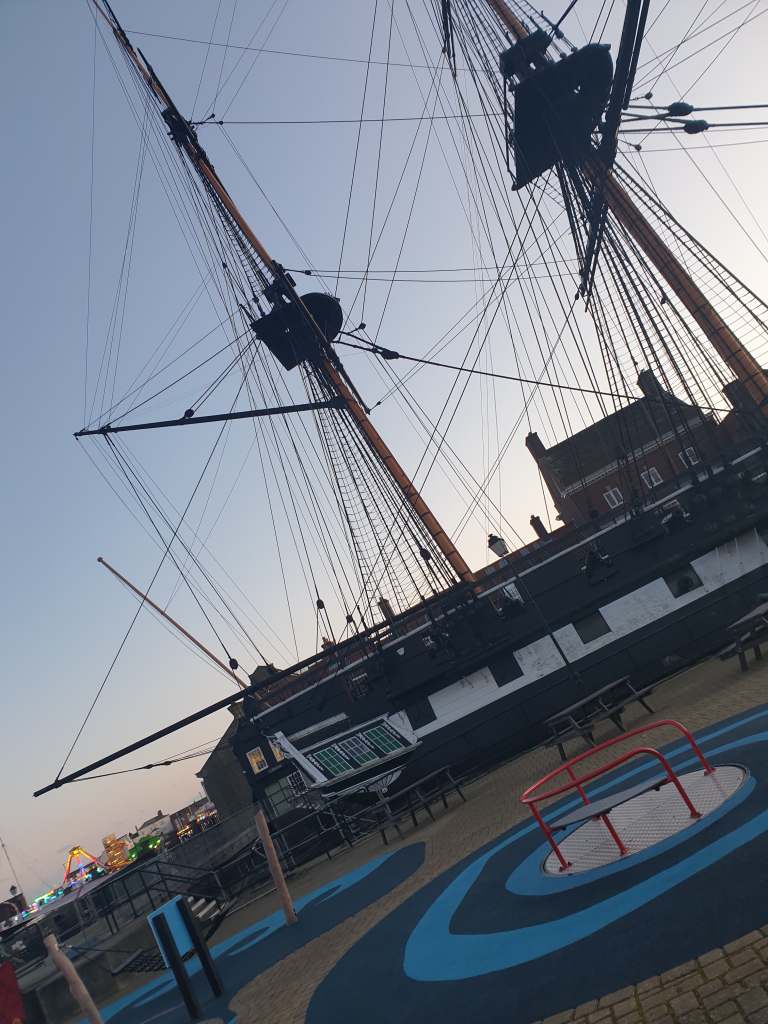
For my research I also went to Hartlepool and seen the ship at royal naval museum and I took some photos of the ship from different angles so I could get more accurate things that belong in a pirate ship.
However the museum was closed when we went to look so I couldn’t get up and close photos, but I did manage to get some photos it just would have been better if I could go closer to get the smaller parts of the ship in more details.
As you can see I couldn’t get close up photos, but these images will help for my ship model.
The captain got caught in a storm and all his crew went overboard. He crashed into a small island, with his ship already destroyed. He decided to make shelter out of some of the remaining boards of the ship.
He also took the last cannon off the ship and has put it next to his shelter, however he doesn’t have any canon balls remaining so he’s took some coconut walls off the tree on the island.
As well as using some of the coconuts to survive by drinking the coconut milk.
As he went through the remaining food within a couple days, he wasn’t wise with it. He should have been having smaller portions size, just enough to survive day by day.
He is grieving the lost of his crew, wondering if some of them are still alive and managed to fight for themselves like he did, although not likely. He is clinging on to any hope he can.
Luckily if he manages to get off the island. He managed to save some of his treasure.
He can be a tough and scary captain, especially if you disobey him but he did care about his crew.
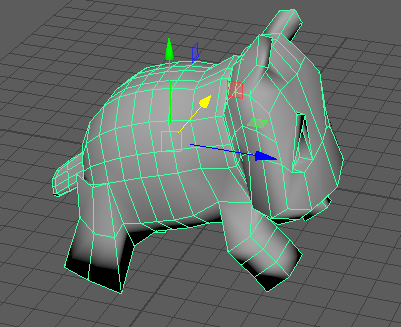
This task I found the most difficult yet, as it was very complex shape to model.
I tried to model Bulbasaur, however this really didn’t look good as it is did not have much creatively to it as I was just trying to do it with no template in the background using a plane. but then once I watched the video link provided in the lecture and added a plane with the template of Bulbasaur on it, that’s when it started looking more like a character or animal.
However it actually ended up looking like a dog in the end, which I see as not a win or a lose. because it is still a character, which I have ever modelled before, therefore I still learnt something.
and as I modelled a dog I decided that this week I was going to practise modelling different animals.
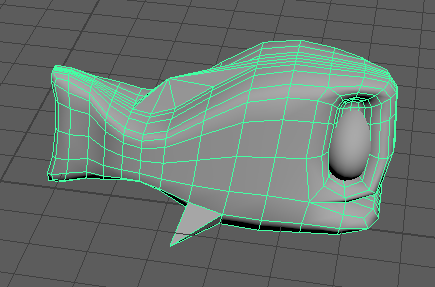
One of the animals I decided to model was a fish, I watched a video on how to model one and then once I got the shape. I didn’t use the rest of the video and I then just continued to model on my own and it actually turned out really well, that I decided I going to add in my diorama.
I really liked what I created so I am going to make multiple ones in my diorama to swim under my island.
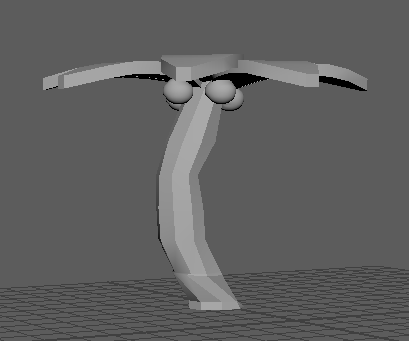
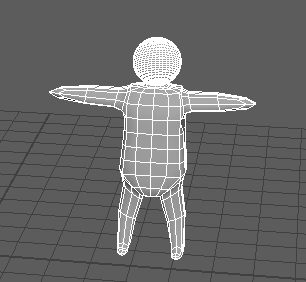
I then went on to model a shape of a person, which I was very pleased with. I used a plane with an image on then tried to get that shape for the man and this is what I came up with
It is just a basic design, which I’m still happy with what I created.
I also made a dolphin and I decided to have that in my diorama, jumping out of the water.
What I learnt in this week’s tutorials, is that I’m not very good at character modelling, which is why I tried to do so many. so that’s one thing I need to focus on at some point so I can improve. As it will come with practise.
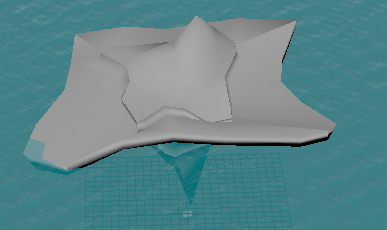
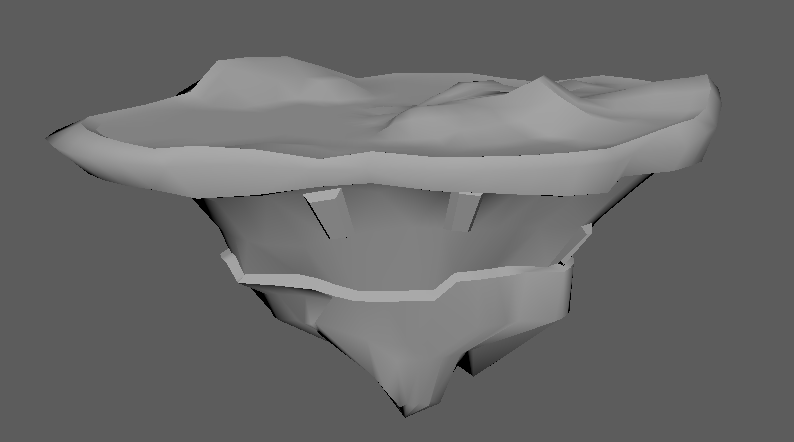
Firstly in my diorama I wanted an island that had a ship wreckage on it, so I started working on building an island, however the first time I attempted it, I did not like what I modelled. As it just didn’t look like what I had in mind.
However I did learn how to add textures, on the other hand this could also be the wrong way to texture as we have not yet been taught in lectures. I just wanted to attempt it myself, nevertheless I managed to texture the water around the island, which I was very pleased with.
So then I started off modelling my plinth as I said in a previous blog that I realised I could use what I learnt for modelling the rock to build my plinth and I liked this result a lot better.
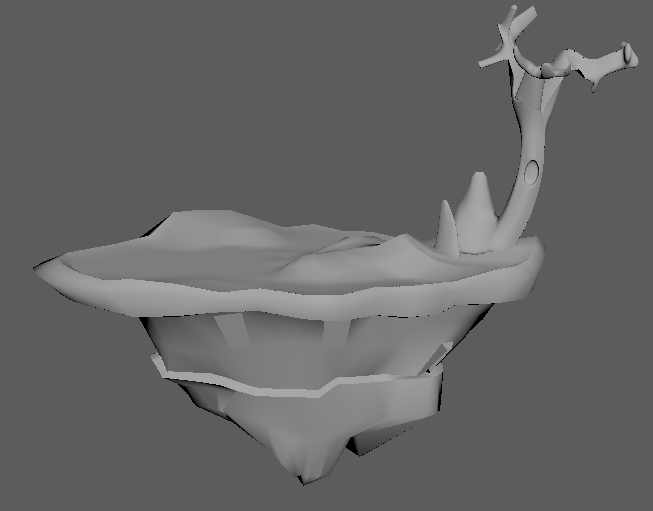
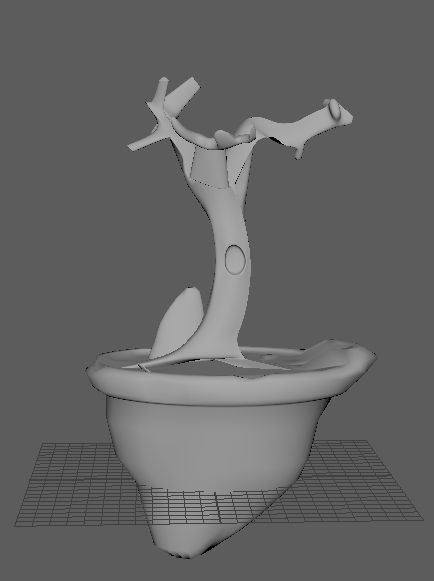
However I did change my plinth a little bit like getting rid of the bits I didn’t like then I Started adding things on top of my island, I added the tree I made in the lecture on Monday, but changed it to fit my new Plinth and then I also added some rocks to go around the tree.
This week I challenged myself a little bit more because I was so afraid that I wouldn’t be able to create a diorama that I was happy with. However once I just attempted it, I realised that if I didn’t like it I could just start over as it is still in the early stages of the module.
Week 4 10/2/2020– 17/2/2020– modelling a tree and rocks
This week we got given the task of modelling a tree and rocks, as it is getting closer to the end of the tutorial weeks. We are starting to model more complex things.
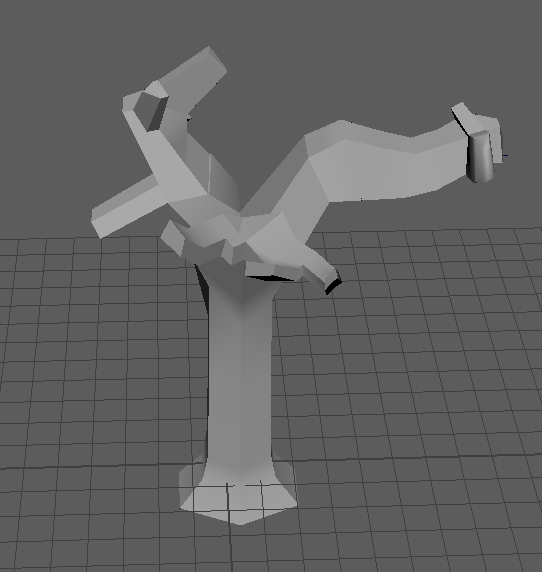
Tree
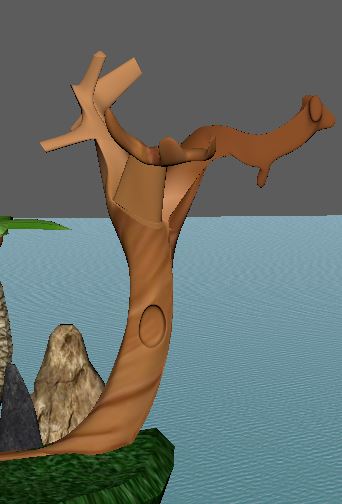
So I actually started on modelling a tree earlier, as I found out on Friday’s lecture. So later that day I had a bit of a play around on Maya and watched a Video on YouTube, of someone else modelling a tree so I could get an idea of how to model one myself. With using the video, I ended up doing this.
On the lecture on Monday, I used what I already made earlier and went on to build a tree on a little island
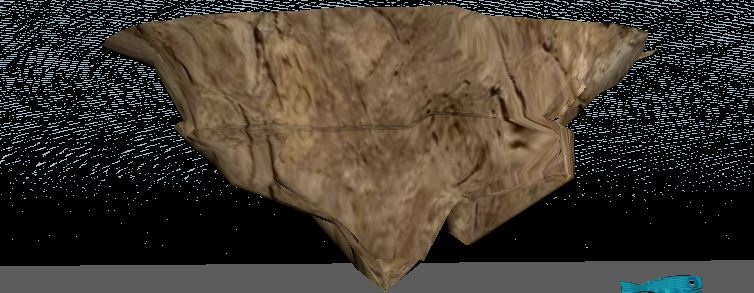
as we were also modelling rocks I realised the I could turn the the rock upside down and see it to make an island. which also will help when I come to build my plinth.
The image I used for inspiration for this was one of the images that we got in the lecture.
Rock
When it comes to modelling a rock, I found this really easier as I just got a cone shape added four subdivisions, then played around with the vertex’s and pulled them around and then made the object smooth.