Furthering my diorama research/ideas

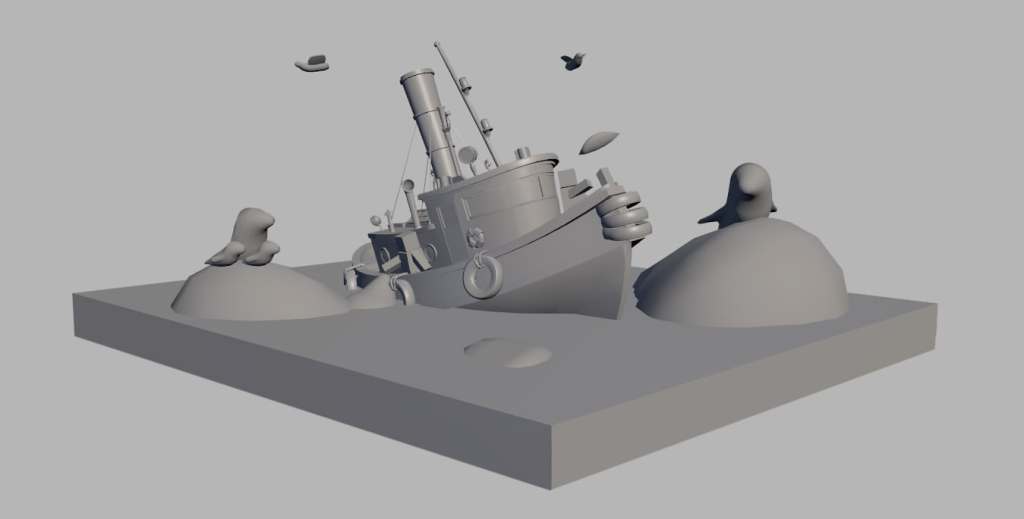
Once I decided on my diorama idea, I looked into more pictures of ship wreckage as now I’m set on the diorama that I want to explore.

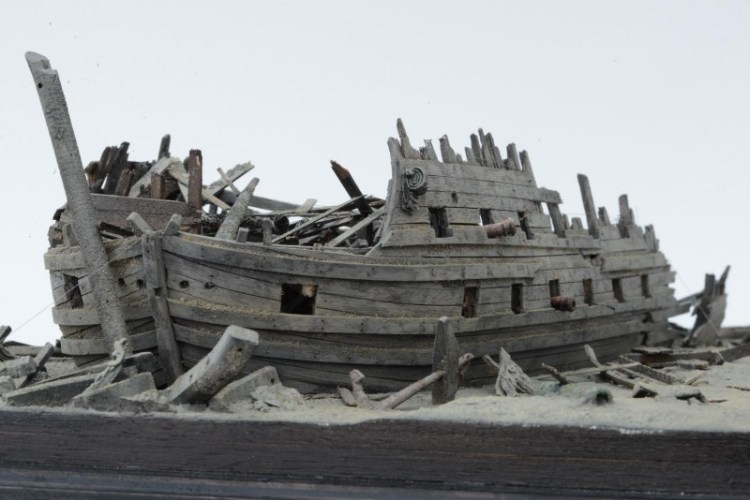
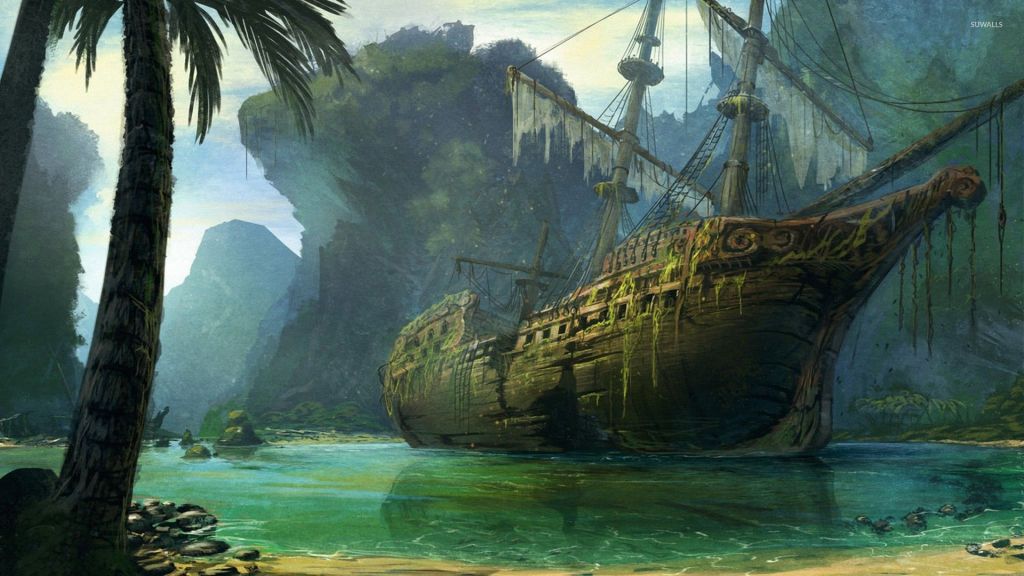
With the ship wreckage, I like the idea of the ship wreckage being there for a while that it has started deteriorating.

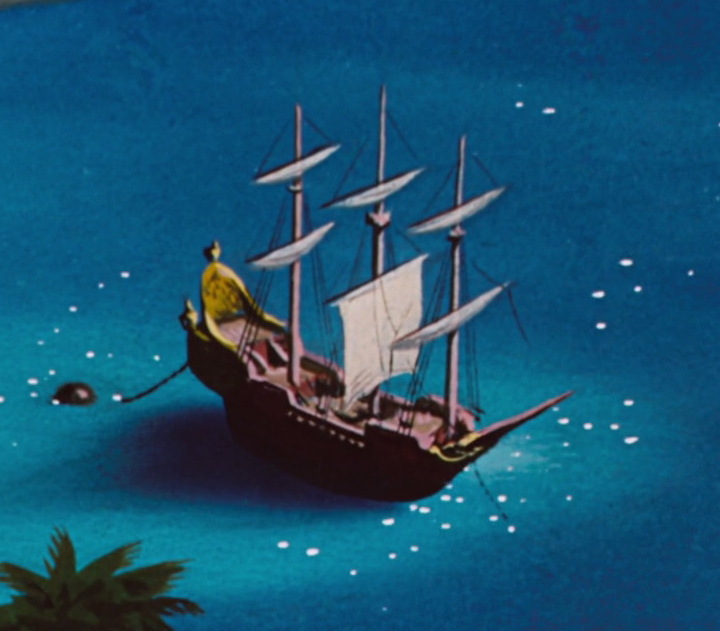
I also like the idea of the ship having quite a cartoon effect to it, for example like the pirate ship in peter pan. So kinda like a fairy tale pirate ship.

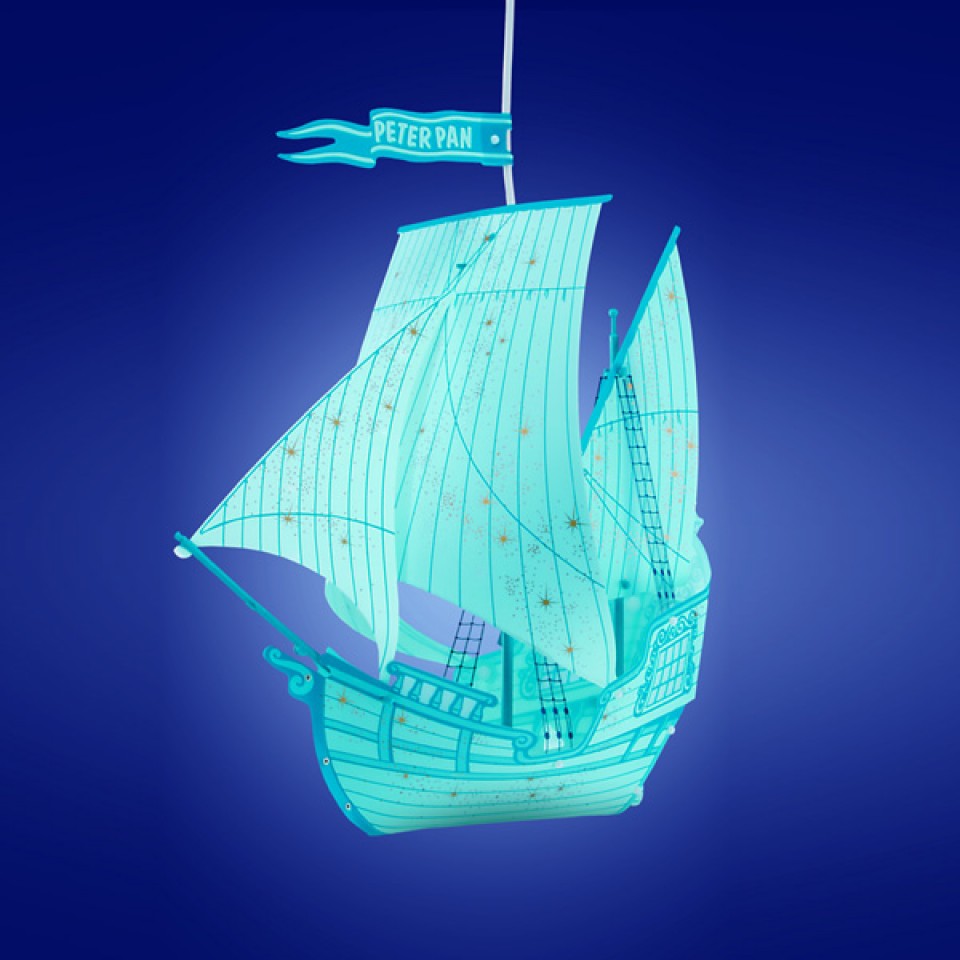
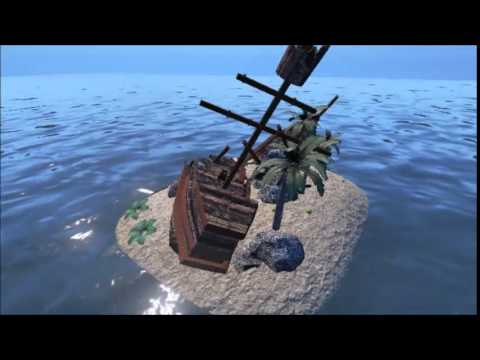
These images are what I think I would want the ship to kinda look like but I want to have holes in the flags and either have the back or the front broken off.

I decided on this diorama because it is something that I’m interested about therefore I will be passionate about my diorama.

WEEK 3. Modelling a cannon.

Week 3  03/02/2020 – 10/2/2020 – Modelling a cannon.

Cannon

I started modelling the cannon in the practical lecture on Monday. which I found quite simple, I need tools such as extrude and bevel. Firstly I got a torus shape then adjusted it to the size I wanted. I extruded out the front of the canon to give it a cylinder shape to shoot out of. I also extruded the inside of the cannon and pushed it in a little bit, which made it more like a shape that a cannon ball could fit in.

I created the stand at the bottom of the cannon by getting a cylinder, added divisions, extruded the legs of the stand and scale them outwards then extruded around the stand at the bottom and pull it out and up a little bit then at the top of the stand I extruded the top to make it look like it is holding it in place and then added two hoop edges and extruded and bevelled the top pieces to give it a more interesting shape and for the end of the cannon I placed a sphere on the end and scaled it down to fit the size of the cannon.

After I modelled this cannon, I felt a lot more confident in my building as with the gate, (the week before) I did worry about the modelling principles module.

Diorama Ideas

I brainstormed random ideas for my diorama. Which are.

  • Outside the castle walls sword battle.
  • Climbing mountains (uncharted style) 
  • Space/planet war 
  • Dungeon  
  • House in woods on fire 
  • Volcano land 
  • Gingerbread house 
  • Small village 
  • Broken pirate ship on land 
  • Robot land 

I think the ideas I like the most are – outside the castle walls sword battle and broken pirate ship on land/ship wreckage on land.

However after further decision I decided to do the ship wreckage on land, because with the sword battle outside the castle walls, I cant really see adding an large organic component outside a castle.

I took some inspiration from this diorama that I found.

I want to do something similar to this, but with the boat crashed on land and like things from the boat all over the island.

I want to do this diorama because out of all the ideas above the ship wreckage one I can see quite clear in my mind.

WEEK 2. Modelling a gate and table.

Week 2 (27/01/2020 – 03/02-2020) – Modelling a gateway and table 

Gateway

I found the modelling a Gate this week a lot harder specially, as it had lots of different edges and I had to find out myself how to cut a shape out of an object. This week I choose to model a gate, this is the image I was using for inspiration. I decided to model this one to give myself a challenge. I used to the extrude and bevel tool to make the shapes coming out and use the multi cut tool to cut the shapes out of the gate and then deleted them.  I also used the multi cut tool to make the metal pieces in the gate and then use extrude and bevel to make them stand out.

Table

Modelling a table however It was much easier as I used the same the tools to model the chair.

With the table, I got a cube then added divisions then extruded the legs of the table then with the legs I moved the vertices in to give the table legs a more interesting shape. 

WEEK 1. Modelling a chair

Week 1 (20/01/2020 – 27/1/2020) – Modelling a chair in Maya.   

The first week I was just playing around with Maya a little bit and trying to get familiar with it, it was a bit scary getting to try get used to something I have never used before, but once I got into it, I realised that there wasn’t a lot to be scared or worried about. 

When modelling the chair. Firstly, I created the chair using different cubes each time then joining them to the base of the chair, and then in lecture, we got shown how to model a chair out of one cube using the extract tool, which made it a lot easier. 

Here’s what I created. As you can see the first week when experimenting with modelling a chair, I improved quite a chair with 3D modelling skills. Using the extrude tool, you can see that the third chair is a lot smoother looking. 

Design a site like this with WordPress.com
Get started